

Initial setup of an iPhone is a crucial step after purchasing the device. Powering it on, activation, setting up passwords, and other actions are important to ensure your smartphone operates at maximum efficiency. In this guide, we’ll explain how to set up a new iPhone and share helpful tips.
Powering on the iPhone
To start, turn on the device. Press and hold the side button until the Apple logo appears on the screen. Then, your iPhone will greet you in several languages and ask you to complete a few settings. Right after powering it on, you’ll need to choose the system language and your region, allow the use of data, and complete other standard settings. After completing this stage, you’ll be prompted to set up your Apple ID.

If you’ve used an apple device before: quick start features
If the iPhone you’re setting up isn’t your first Apple device and you already have an Apple ID, the Quick Start feature will help you activate the new device and transfer your data. The only condition is that both phones must be with you.
· Activate Wi-Fi and Bluetooth on your old device.
· Turn on your new device and place both gadgets side by side.
· Follow the instructions on the screen of the new iPhone. If the setup prompt disappears, restart both devices.
· After completing these steps, connect the new smartphone to Wi-Fi or choose a cellular network.
· Set up Face ID or Touch ID.
· Select a convenient data transfer method: via iCloud backup or directly from the device you were using. The first option allows the download to happen in the background, while the second requires waiting for the process to finish on both devices before you can use them.
Remember: Keep both devices close until the process is complete. The transfer time will depend on the amount of data being moved.
You can also transfer files from an Android device to your new iPhone.
Switching from Android to iPhone: How to Transfer Data
If this is your first apple device: setting up Apple ID
If the new iPhone is your first Apple device, you’ll need to create an Apple ID account. Without it, you won’t be able to use the main features of the smartphone. Apple ID is necessary for downloading and purchasing software, games, and apps. If you plan to buy other Apple devices (Mac, AirPods, Apple Watch, iPad), your Apple ID will connect them all. You’ll be able to start working on one device and continue on another, enjoying all the benefits of the Apple ecosystem. The account also helps protect your information in case of loss or damage to the device, as files will be accessible on another device with your Apple ID.
To create an Apple ID:
1. During the Apple ID input stage, tap Forgot password or don’t have an Apple Account?
2. Then tap Create a Free Apple Account.
3. Select your birthday and enter your name. Tap Continue.
4. Provide your email address. This primary email address will be what you use to sign in to your Apple Account.
5. Follow the instructions on the screen to confirm your email, create a password, choose a country, and activate two-factor authentication.
You can skip the Apple ID creation step and do it later in the “Settings” menu.

Creating iCloud
iCloud is Apple’s service for storing files, photos, and other data in the cloud. This information will be available on all your Apple devices and on the icloud.com website. Additionally, iCloud allows you to share data with family, friends, and close ones by granting them access to the cloud storage.
To create iCloud:
· Open “Settings” and tap your name at the top of the screen. If your name isn’t displayed, tap “Sign in” and enter your Apple ID details and password.
· Then, choose “iCloud Mail” or “Mail” and follow the on-screen instructions.
Congratulations! The initial setup of your iPhone is complete.

Set up key functions
· Activate a passcode. Open “Settings” and select “Face ID & Passcode” or “Touch ID & Passcode” to create the necessary passcode.
· Update iOS to the latest version. Open “Settings,” then choose “General” and tap “Software Update.” Make sure your software is up to date.
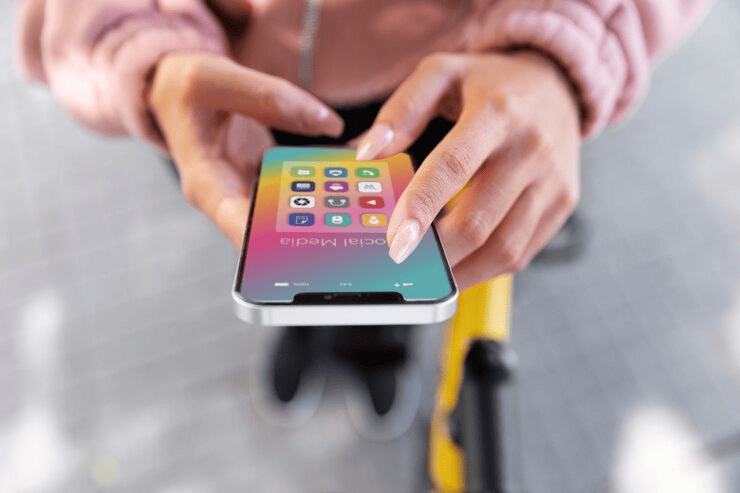
· Install the apps you need. Go to the App Store, where you’ll find what you need: social networks, messengers, games.
· Set up Control Center. It allows quick access to apps. In iOS 18, swipe the Control Center from the top-right corner. In older versions, go to “Settings” and choose “Control Center.”
· Activate “Do Not Disturb” and “Focus”. These modes allow you to temporarily limit mobile calls, messages, and notifications. For example, to avoid disturbances while you’re trying to sleep. To enable this, open “Settings” and tap “Focus.” Then, select the desired mode: “Do Not Disturb,” “Driving,” and others.
· Set up Siri. To do this, open “Settings” and select Siri.

Settings in case your iPhone is stolen or lost
You can track your iPhone’s location on Apple’s website using your Apple ID and password. You can also check its location using the “Find My” app on your iPad or Mac, but the smartphone must be set up in advance.
Enable the “Find My iPhone” function in advance:
· Go to “Settings” and tap “[your name]”.
· Then, choose “Find My,” tap “Find My iPhone,” and enable the feature to track your device in case it gets lost.
· If you only use an iPhone, you should add “Trusted Contacts” to your Apple ID. To do this:
· Open “Settings,” then select “Apple ID.”
· Next, tap Sign-In & Security. Above Email & Phone Numbers, tap Edit.
· Tap “Add Contact.”
This way, in case your phone is lost or stolen, you can determine its location through the linked contact.

How to Find an iPhone, iPad, or Mac: An Overview of the Find My App
Need help with setup? visit iSpace!
Having trouble setting up your new device, or don’t want to spend time on it? Come to iSpace! We’ll help you out. Plus, we’ll be happy to show you the latest Apple products in our store.
Always be aware!
Subscribe to the newsletter and be the first to know about new promotions and special offers