
Apple’s unified ecosystem makes studying easier. You can quickly transfer files and photos without cables or messaging apps, use an iPad as an additional display, and access your iPhone directly from a Mac.
Hidden Apple features that can be useful for pupils and students include:
- Desk View for showing your physical workspace during a video call;
- audio recording and transcription in Notes;
- Live Listen with AirPods in noisy classrooms;
- stress level tracking with Apple Watch, and much more.
Apple devices work seamlessly together: start on one device and continue on another. In this article, you will learn where to go and what to tap in iOS and macOS to get the most out of your device. If you have any questions, iSpace experts are happy to help — online or in stores.
Mac and the Apple Ecosystem for Studying
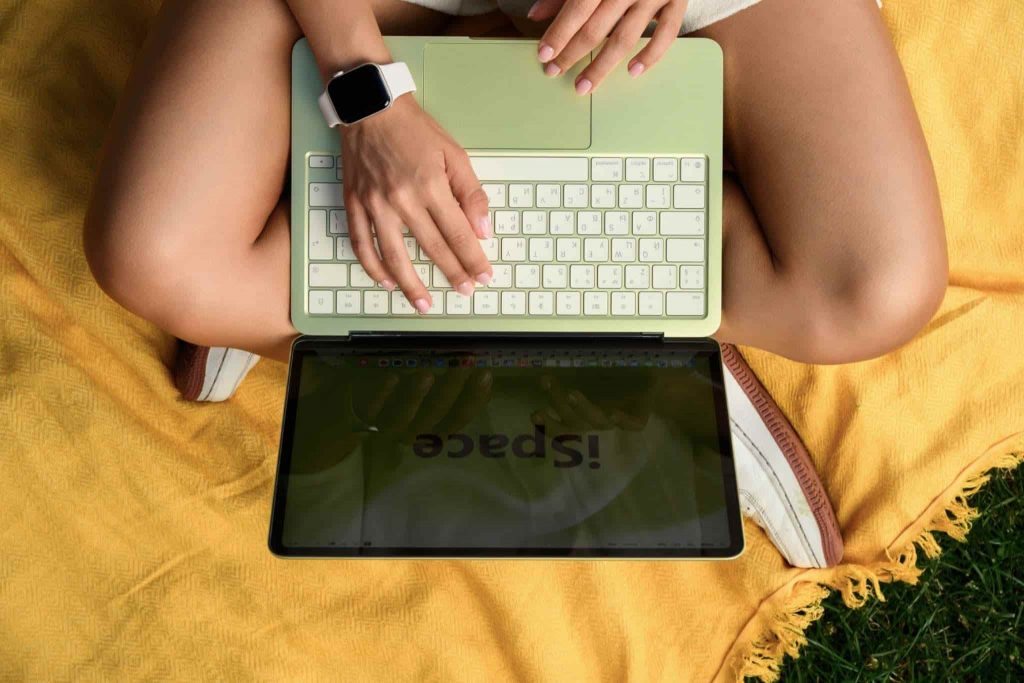
With a single Apple Account, all your devices can be connected within one ecosystem. This means you can start working on one device and continue from the same point on another. With MacBook Air M5, everyday study tasks become even easier. Its compact, lightweight design and long battery life make student routines more convenient. Your iPhone, AirPods, and iPad can also connect to it wirelessly. Here are a few ways to use a MacBook for studying:
- work on assignments whenever and wherever you want — draft an essay on your iPad while you are on the go, then finish the final version at home on your Mac;
- use your iPhone as a camera for video calls — in FaceTime, Google Meet, or Zoom on your Mac, open the camera list and select your phone. The video will then come from your iPhone and its high-quality camera;
- send photos and scans directly to a document on your Mac — take a picture of your notes with your iPhone, click an empty area on the Mac desktop, and select “Import from iPhone or iPad.”
The powerful chip supports different types of workloads, whether you keep a dozen browser tabs open at once or work on graphic design. MacBook Air M5 provides up to 18 hours of video playback, so you do not have to worry about constant charging.
Choose your Mac model:
How to Control Your iPhone from a MacBook Screen
Hidden iPhone features can make student life easier. One useful option is iPhone Mirroring. Even when your phone is in your pocket or backpack, its screen can appear in a separate window on your Mac. You can then use your iPhone without physically touching it. Setup is simple:
- Press Command + Space on your MacBook, type “iPhone Mirroring” in the search bar, and open the app.
- Select your iPhone, connect it, and enter your passcode.
- Control your iPhone directly from the trackpad.
Scroll through your Threads feed, read messages, and reply to friends. You can also view notifications and transfer photos and files between your iPhone and Mac without switching between devices.

How to Work with Open Documents Side by Side
Split View comes in handy when you need to work with two sources at the same time. The feature lets you place two windows side by side on the screen: for example, an essay on the left and a source on the right. We explained how to split the screen in a separate article.
If you need more windows, use Stage Manager. It organizes different apps into work groups: for example, you can create a separate group for messaging apps or for a particular subject.
Organizing Screenshots on iPhone and iPad
Screenshots pile up, you forget where and what you saved, and your photo library gradually gets cluttered. Sound familiar? Freeform, Apple’s built-in interactive whiteboard, can help you organize everything. Here is how to organize your screenshots:
- Create topic-based boards in Freeform — for example, “To Read,” “Term Paper,” or “Presentation Ideas.”
- Take the screenshot you need, tap “Share,” and send it to Freeform.
- Delete the screenshot from Photos.
You can edit the board by adding notes, arrows, and drawings. On iPad, organizing it is even easier with Apple Pencil.
Choose your iPad model:
How to Hear a Lecturer Better from the Back Row with AirPods
In a noisy classroom, it is easy to miss important information, especially if the lecturer speaks quietly or you are sitting far away. But you can turn your iPhone into a remote microphone and hear the lecturer clearly through your AirPods. Here is what to do:
- Open “Settings,” go to “Control Center,” find the ear icon (“Hearing”), and add it to the active controls.
- Connect and put on your AirPods. Make sure noise cancellation is enabled.
- Swipe down on the screen, tap “Hearing,” and select “Live Listen.”
- Place your iPhone closer to the lecturer.
- Adjust the volume so background noise does not interfere with the lecturer’s voice.
This Apple feature for students helps you hear every detail, even if you prefer sitting in the back row.
Choose your AirPods model:
How Can Apple Watch Help Track Stress and Avoid Overload?
Keep an eye on your stress levels with Apple Watch. The smartwatch continuously tracks activity, sleep, heart rate, and breathing sessions. All this data is collected in the Health app. Stress levels themselves can be monitored and visualized with third-party apps.
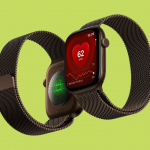
The Harvee app can be used to monitor stress and is available for download from the App Store. It reads data from your Apple Watch and displays a cute fluffy character on the watch face whose appearance changes based on your current state. To use Harvee, download the app to your iPhone and grant it access to Health in the basic settings. Then open the Watch app on your iPhone, go to “My Watch,” find Harvee, and tap “Install.”
Choose your Apple Watch model:
How to Set Up Birthday Reminders on iPhone
When your study schedule is packed, it is easy to forget important events. Your iPhone can help. Here is how to add a birthday to your iPhone calendar:
- Open “Contacts,” find the person you need, and tap “Edit” in the top-right corner.
- Scroll down, tap “Add Birthday,” and enter the date.
- Tap “Done” — the information will sync with Calendar.
- In “Settings,” go to “Calendar” → “Default Alert Times” → “Birthdays” and choose when you want to be notified.
Setup only takes a couple of minutes. After that, you will not miss the birthdays of people close to you.
How to Show a Drawing, Model, or Lab Project During an Online Class

During remote classes, you may sometimes need to show your physical workspace, such as a drawing, model, or lab project. The Mac’s front-facing camera alone may not provide the right angle. This is where Desk View comes in: it uses an ultra-wide camera to display your work surface. With Desk View during a video call, both you and your desk can be visible at the same time.
To activate the feature, open Desk View from the apps on your Mac — you can also find it through search — and connect your iPhone as a second camera. On newer Mac models, you can also use the built-in camera; see the full list here.
How to Use an iPad as a Second Screen for a Mac
If one display is not enough, you can use an iPad as a second screen — no cables are required. To do this, use Sidecar, available in System Settings under “Displays.”
This setup is convenient: you can build a presentation on the main screen while keeping notes, sources, and references open on the iPad. The cursor and keyboard can be used across both devices.
How to Quickly Transfer a Photo of Notes or a Formula from Your iPhone to a Mac
Hidden iPhone features make it easy to insert a graph or formula into a document without spending much time on it. For this, you can use Continuity Camera.
On your Mac, place the cursor where you want to insert the image, right-click, and select “Insert from iPhone” → “Take Photo.” Take a photo with your iPhone and tap “Use Photo” — the image will appear in the document immediately. For this to work, both devices must use the same Apple Account, and Wi-Fi, Bluetooth, and Handoff must be enabled.
How to Automate VPN on iPhone with Shortcuts
Some study resources are only available through a VPN. You can automate the VPN launch with Shortcuts:
- Open the Shortcuts app, go to the “Automation” tab, and tap the plus icon.
- Select the “App” trigger and choose the app, such as Safari, that should activate the VPN when opened.
- Tap “Add Action,” find your VPN app, and select “Set VPN Connection” with the status set to “On.”
- Turn off “Ask Before Running” so the automation can run in the background, then confirm the action.
You can adapt the same automation for the Action Button on iPhone models that support it, starting with iPhone 15 Pro and later models.
How to Record a Lecture and Get a Transcript in Notes on iPhone
If the lecturer speaks too quickly or you simply do not feel like taking notes, start an audio recording in Notes. You can also transcribe the recorded speech right there.
To do this, create a new note, select “Record Audio,” and control the recording with the on-screen button. There is a text icon next to the audio recording — tap it to display the written transcript. You can search for specific words and sentences, copy text, and play the recording from a particular point by tapping the corresponding fragment.
How Can Apple Intelligence Help with Studying?
Apple Intelligence can make studying easier. It can summarize long documents, proofread drafts, generate key points, and find answers based on visual input. The available features depend on the device and country, so check all limitations on Apple’s website.

Apple devices make everyday life easier. At iSpace, an Apple Premium Partner in Georgia, you can find everything you need to support your academic goals. If needed, our experts can help you choose genuine Apple devices, including a MacBook for students in any field of study. All devices come with the manufacturer’s official warranty.
We offer installment plans and financing, as well as Trade In, making it easier and more cost-effective to upgrade your devices. You can visit our physical stores in Batumi and Tbilisi, or order devices online with fast and careful delivery across the country.
We also have an authorized iSupport service center in Tbilisi. To stay up to date with new products and useful tips, read our blog and follow us on social media.
FAQ
What Is the Automation App on iPhone Called?
The main app is Shortcuts. It lets you create sequences of actions and automate repetitive tasks.
Can Apple Watch Measure Stress Levels?
Apple Watch tracks heart rate, heart rhythm, and sleep quality. Stress levels are calculated by third-party apps that use data from the Health app.
What Is AirPods Live Listen Used For?
Live Listen turns your iPhone into a remote microphone and sends the sound to your AirPods. The feature can be useful for listening to lectures in noisy classrooms.
What iPhone Features Are Useful for Studying?
There are plenty of useful features, including document scanning, photo transfers, audio recordings with transcription, screenshot organization, and automation. You can find more tips in the iSpace blog.
Check out more
Best Laptops for Studying in 2026: How to Find the Ideal Model
MacBook Neo for Beginners: How to Switch from Windows to Mac and Learn to Use a MacBook
Always be aware!
Subscribe to the newsletter and be the first to know about new promotions and special offers